Last fall, we stumbled upon a hidden gem in the heart of Central Otago: the Lake Dunstan Trail, a scenic pathway carved into the cliffs along the Lake Dunstan, running parallel to the main road. A quick investigation revealed that it was a lengthy 42-kilometer route connecting Cromwell to Clyde. Given its length, we realized it was best to explore by bike. It seemed like an exciting and adventurous outing, and we finally seized the opportunity to embark on it this year. We wholeheartedly recommend it to every enthusiastic cyclist looking to explore New Zealand on two wheels.
Transfer
Unless you’re up for biking the full 42 kilometers round trip, you’ll need to arrange transportation between the two towns. We opted for Bike it now! , a company that transported both of us and our two bikes from Clyde to Cromwell for $90, including a quick briefing, in about 20 minutes. (If you don’t have your own bike, you can also rent one here.) They even lent us a bell for the bikes, which proved important given the winding nature of the trail. We left our car parked on the street.
Which direction?
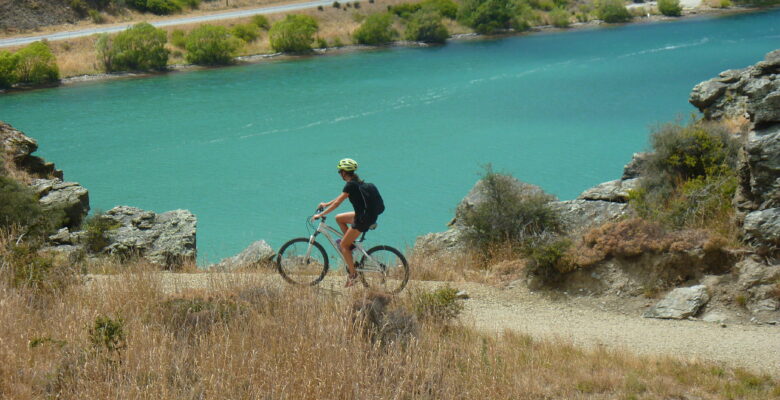
The Lake Dunstan trail can be traveled in both directions, and it’s quite narrow in places. We chose to ride from Cromwell to Clyde mainly because we planned to stay overnight in Clyde. This made it convenient to bike back to our van and simply relax after the excursion. We noticed that most people followed this direction, with fewer cyclists coming from the opposite way. Occasionally, we faced a headwind, but it varied greatly in this area. The views are stunning in both directions, with the bike trail winding directly along the shores of Lake Dunstan at several points.
About the Lake Dunstan Trail
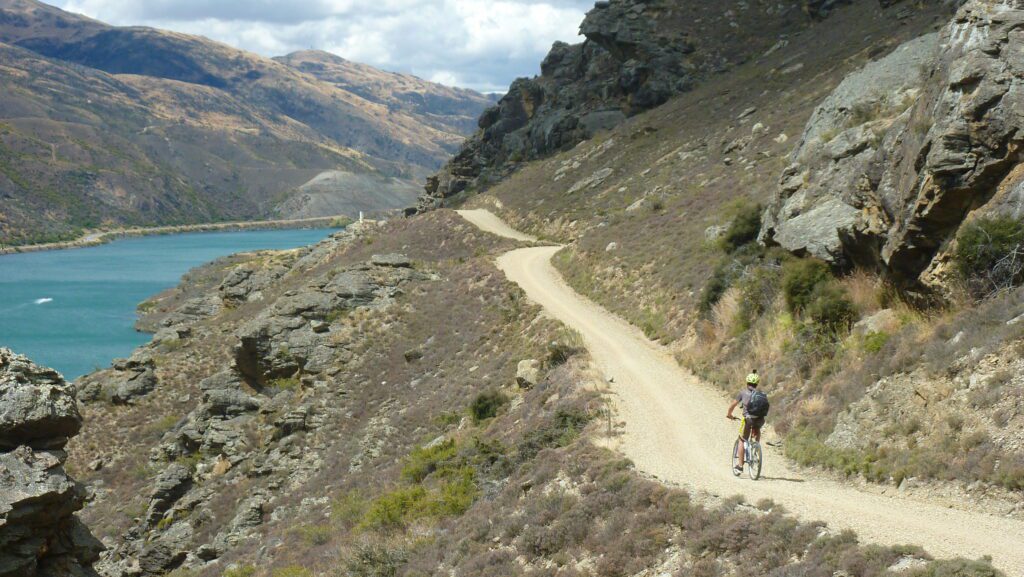
The route is rightly popular, very well-maintained, signposted, with several restrooms and rest areas along the way. While it wasn’t crowded, there were always quite a few bikes at the rest stops. About 90% of the cyclists completed the route on electric bikes, and we were among the few who tackled it on traditional bicycles, which occasionally earned us a smile. It’s easily achievable this way too; there are some steep climbs and sharp, blind corners, but overall, I wouldn’t say it’s technical. We didn’t have to push our bikes at any point 🙂 We had to change gears frequently due to the ups and downs. In some places, the trail is indeed narrow, so extra caution is needed. Watch out for oncoming cyclists and use a bell!
Since it rained the previous night, our wheels got stuck quite a bit in the sandy-gravelly terrain at the beginning of the tour, noticeably slowing our pace. We got a bit wet as well, but overall, it was warm, and later on, the sky cleared up nicely.
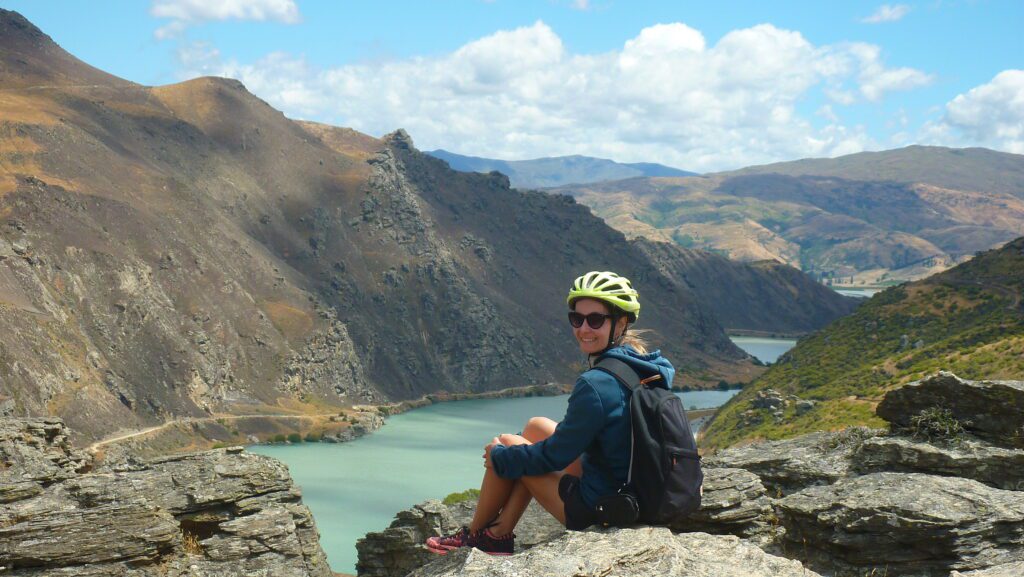
The toughest ascent is the Cairnmuir Ladder, where you have to climb up to the mountaintop. We stopped several times here to gather strength and catch our breath; our legs definitely felt the burn. From the top, there’s a beautiful view of the valley. At the summit, there’s a small bike rack and a lookout point, although it can be very windy up there.
You can download a map from this website; it indicates the elevations and restrooms, which is very useful.
Equipment
In our bags, we had:
- first-aid kit
- 2-2 sandwiches
- snacks and protein bars(the more the merrier)
- 1.5 liter water pp – 2 is recommended, unfortunately, we did not have more bottles. There is no drinking water along the trail, so be prepared!
- raincoat, long pants, sweater
- sunscreen, lip balm, insect repellent
- camera, phones, downloaded maps, power bank
- tool kit
Video about the trail:
Leave a Reply